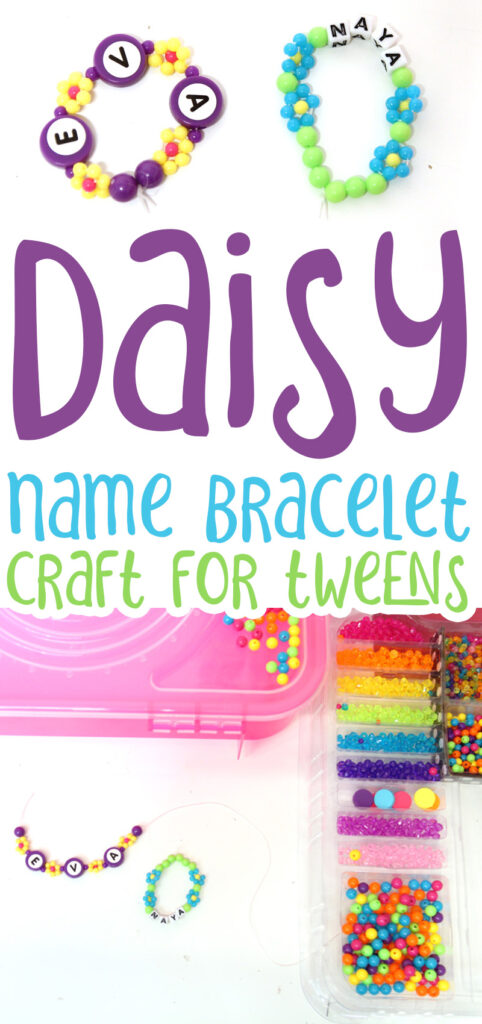
A daisy chain beaded bracelet is a fun first beading project for kids and tweens – and this name or initial version is just so much better! This blog post was created in partnership with Horizon Group USA and Craft Project Ideas.
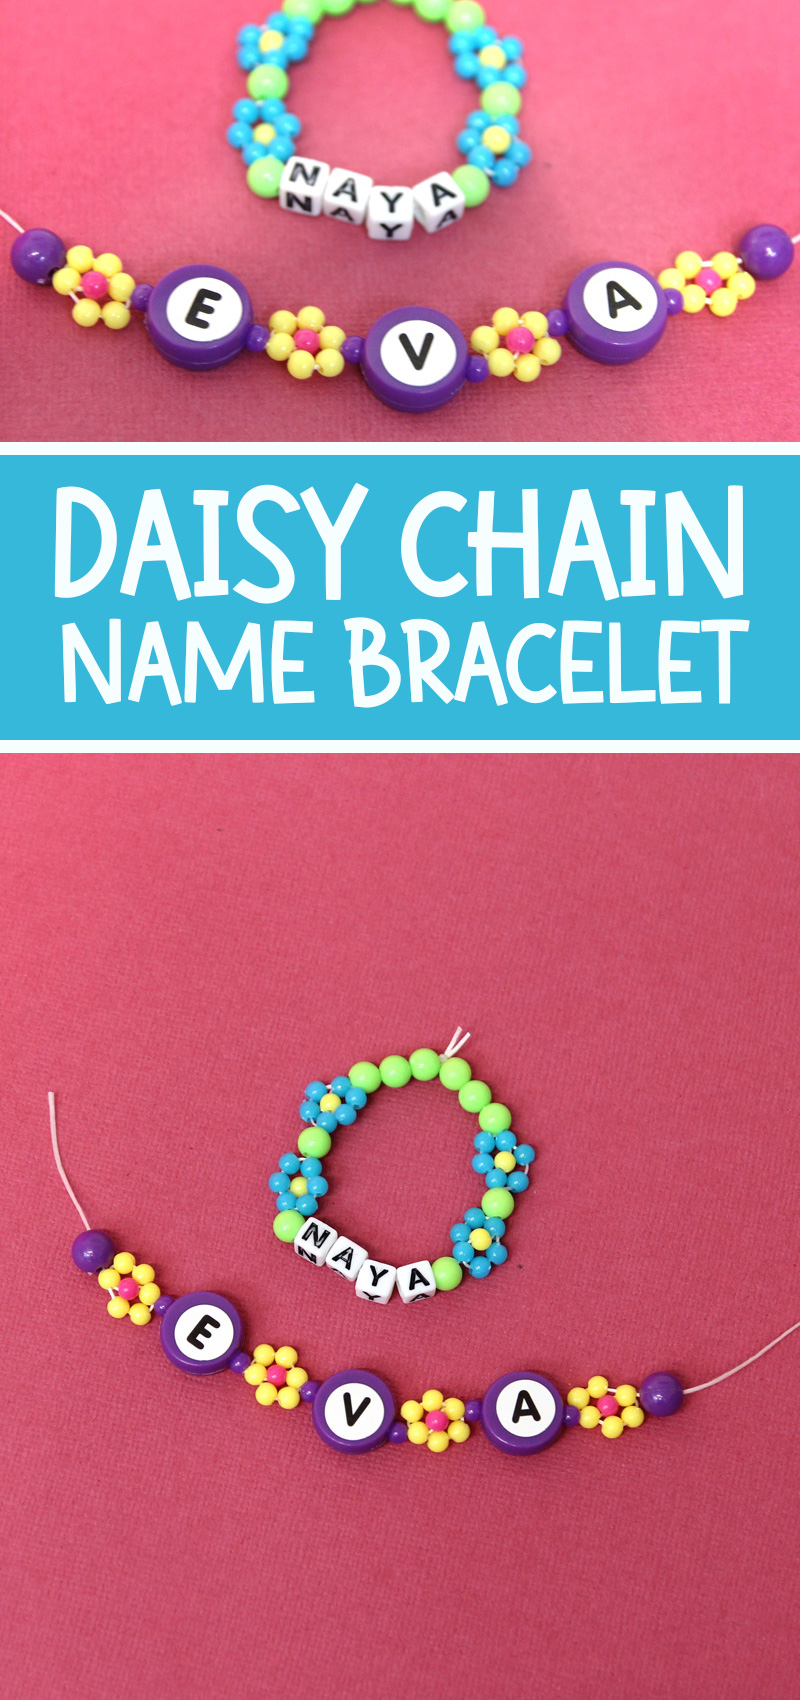
Kids and tweens love learning new “real” skills and beading is a favorite first. But did you know that there is a beading technique that’s so simple even young kids can master it?
As a tween, I loved making daisy chain beaded bracelets. It feels good to know a “trick” beyond just straight line beading.
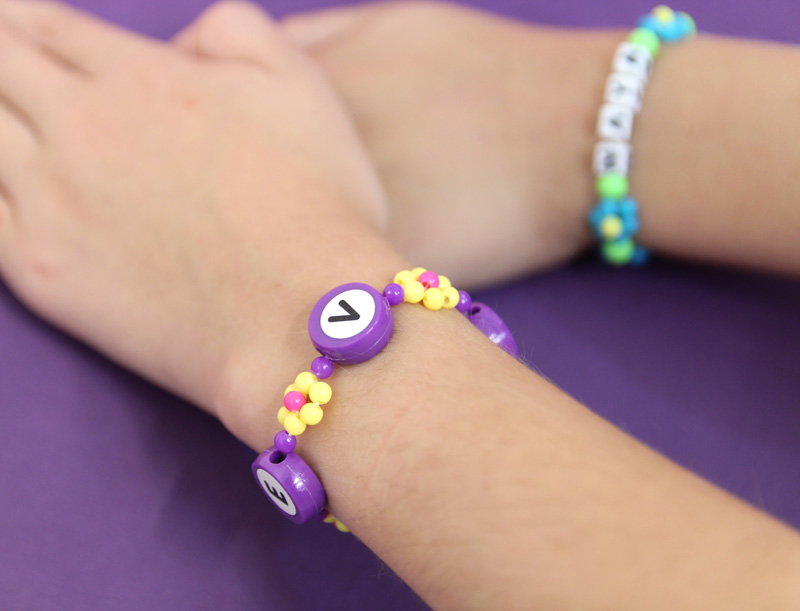
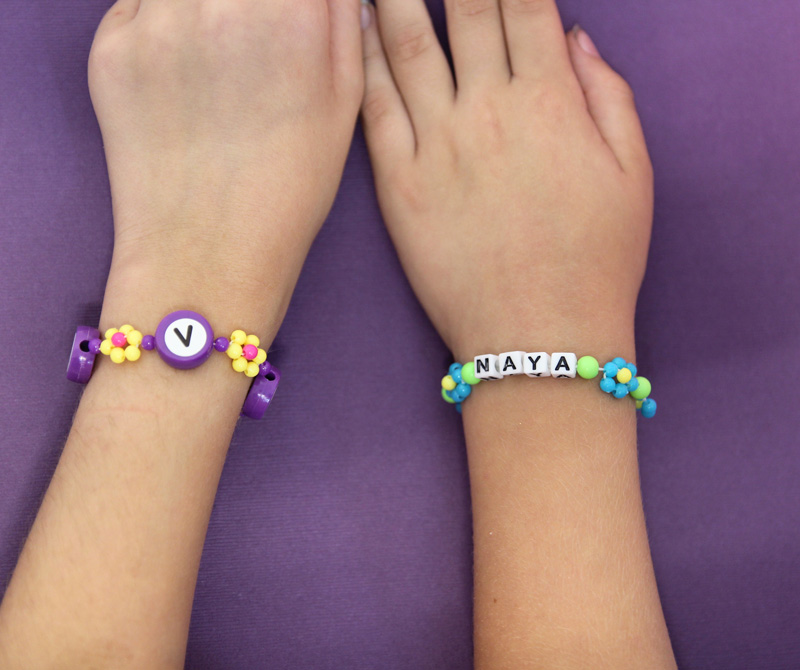
So if your tween is ready to learn a new beading skill, these daisy chain beaded bracelets are a score!
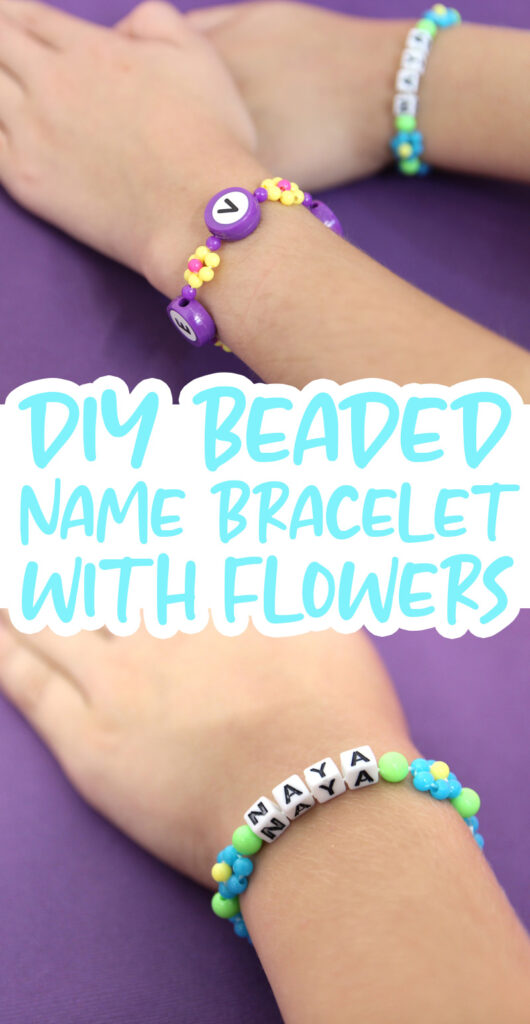
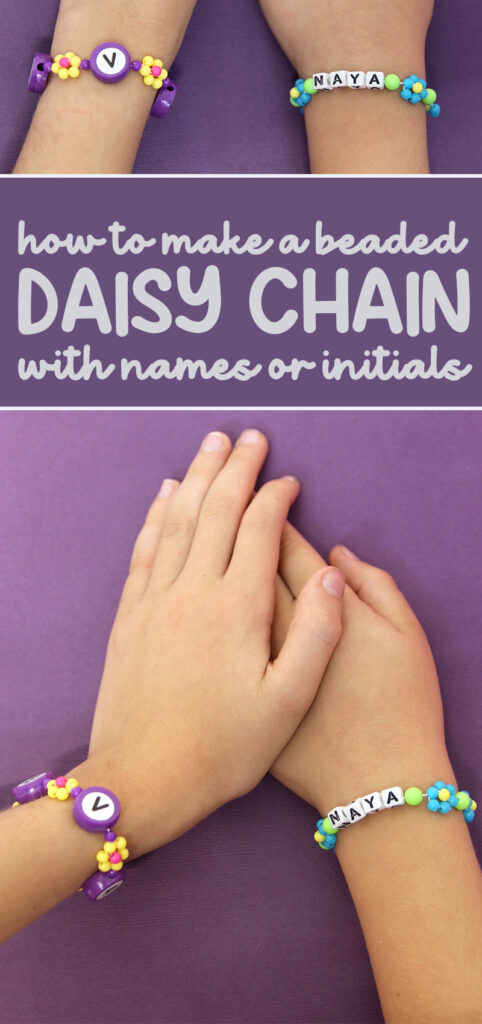
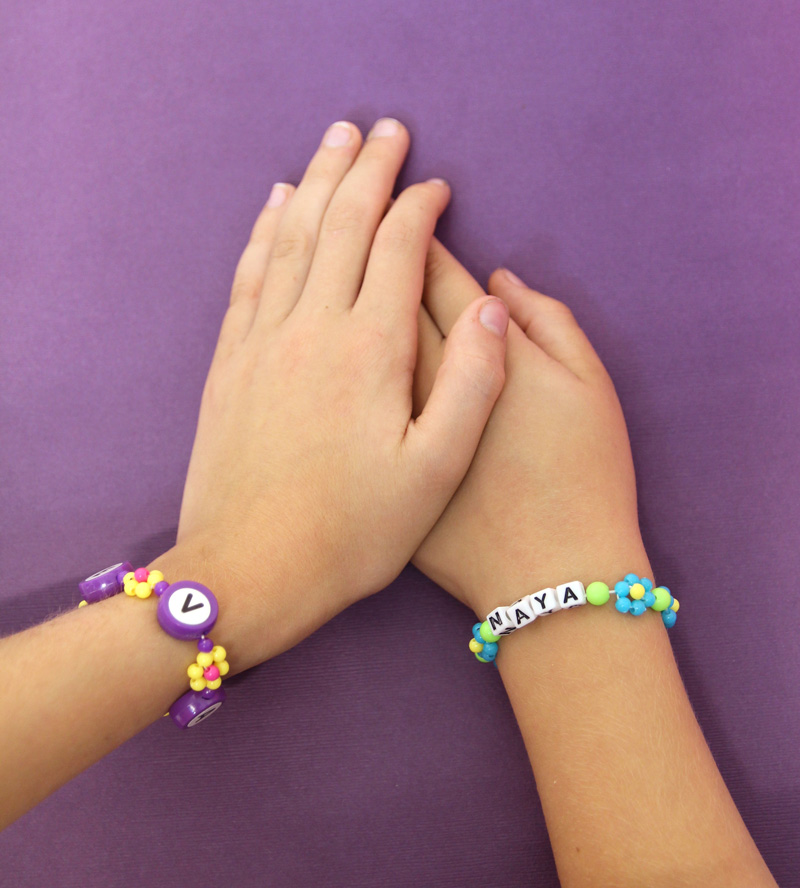
And just to add a fun little extra flair, we turned these into name bracelets. Eva and Naya both have short names, so we used their full name. You can also stick to initials!
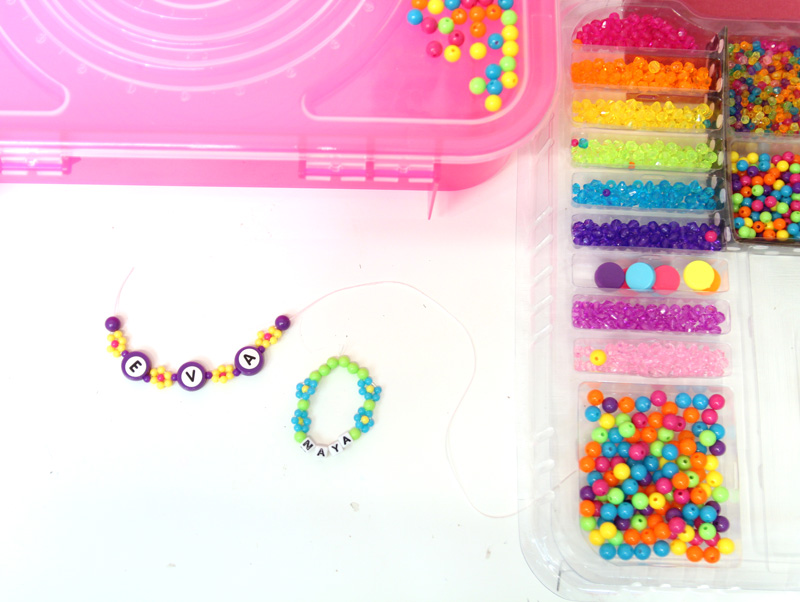
All the supplies we needed, besides for some tape to seal the end (or tape it to a surface) and scissors were in Horizon’s Just My Style Ultimate Jewelry Center.
You have a huge variety of beads in very classic shapes to give you versatile crafting supplies.
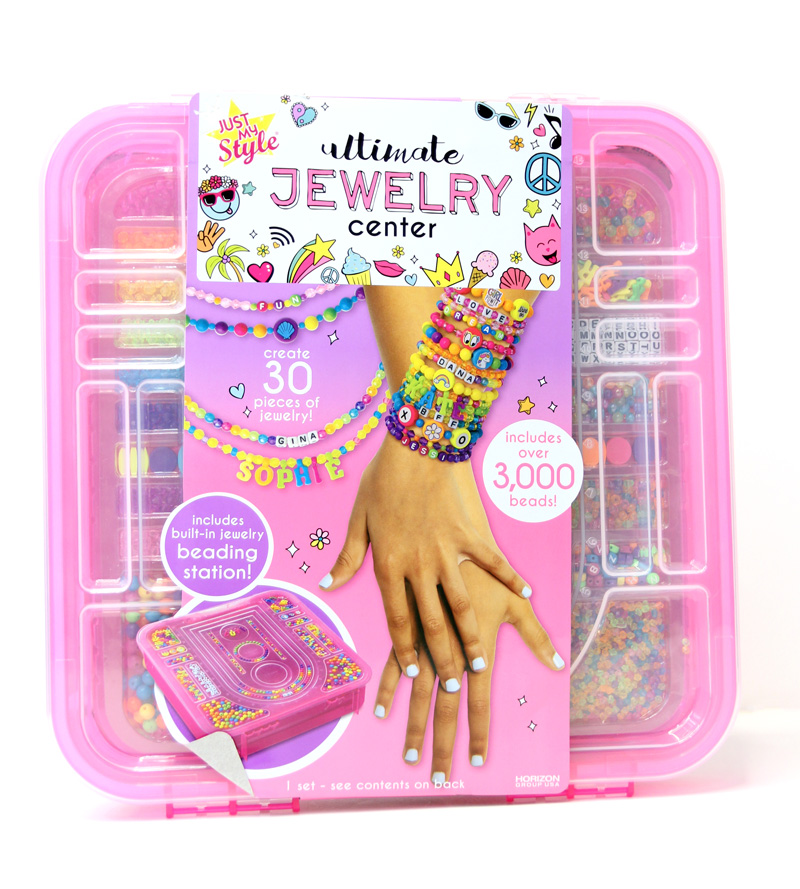
The Ultimate Jewelry Center is a really fantastic open-ended craft kit. It’s got great ideas included (and yes, the basic daisy chain – without the name – is featured in the instruction booklet!)
And for the ultimate in customization: there are blank circle beads with decals you can add. So if you’re not finding the letters you want in the colors you want, you can make them!
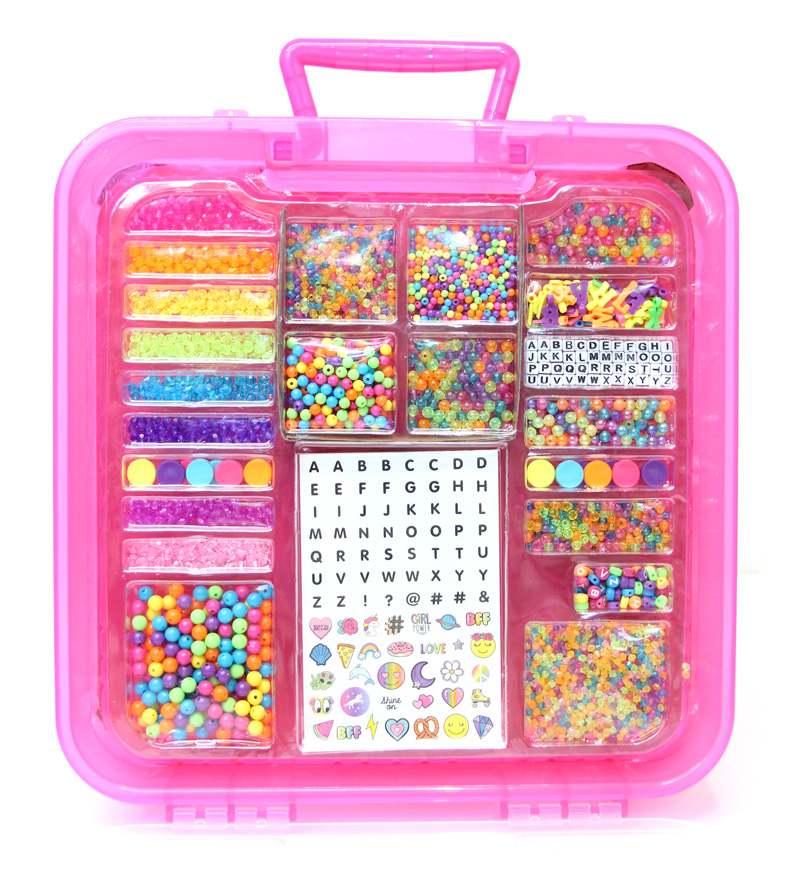
Just like many jewelry making projects for kids, daisy chain beaded bracelets can be open-ended from the bead colors, shapes, and accents you use! The Ultimate Jewelry Center comes with different finishes, bicones and round, translucent and opaque beads… all of which can be used to make these.
We also switched between placing all the name beads together and interspersing them between the daisies. I only recommend the second option if you’re doing initials, as it doesn’t really read smoothly when it’s on the wrist.
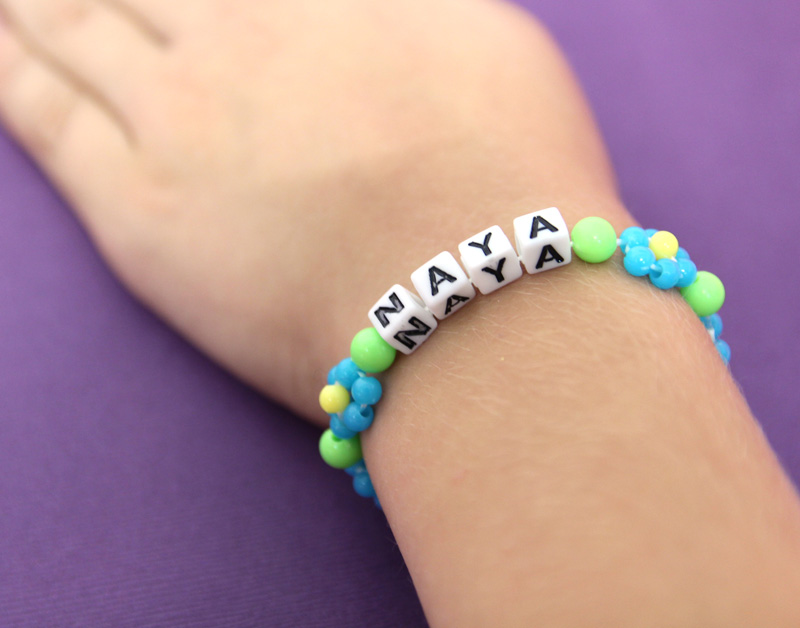
This daisy chain beaded bracelet uses an elastic (which you get plenty of in your kit) so it can easily slide on and off. It’s is a great way to bead for younger children, who won’t have the dexterity to close clasps on their own, and who might want a little break from their bling.
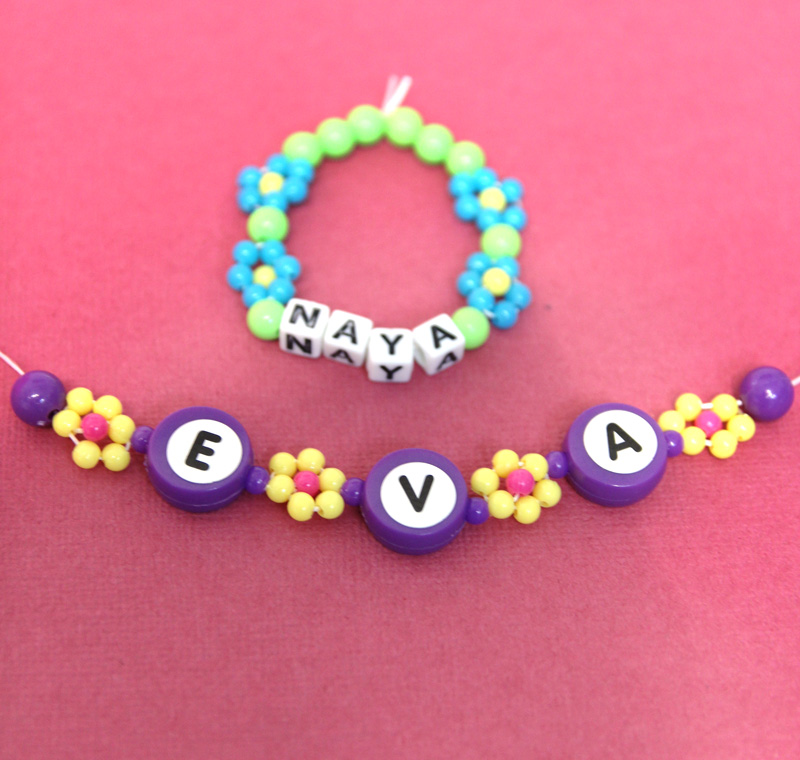
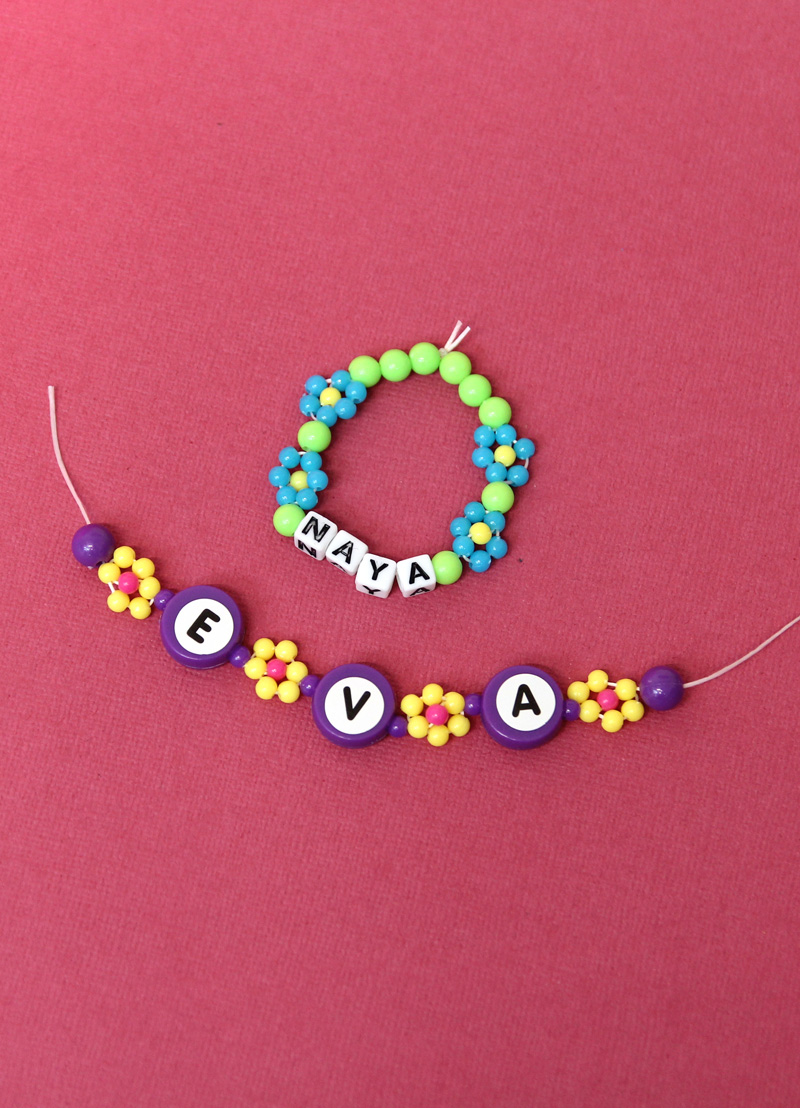
Ready to get started? Gather your supplies and get crafting!
What you need to make these
From the Just My Style Ultimate Jewelry Center:
- Round beads in different sizes and colors
- Alphabet beads
- Elastic (about 2 ft.)
Not in the kit:
- Paper tape (Washi or Masking)
- Scissors
- Optional: strong glue (Adult Supervision Required)
How to make a beaded daisy chain bracelet
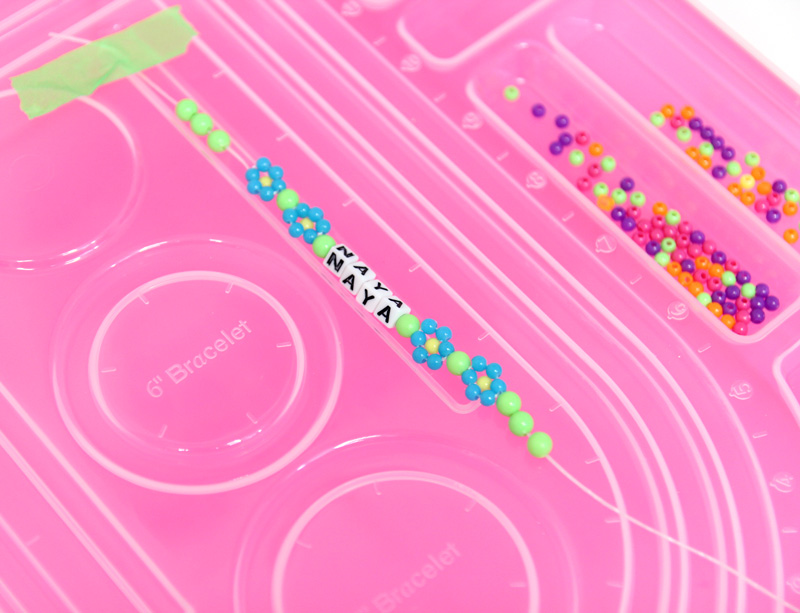
1: Sort your beads in the lid of the Ultimate Jewelry Center. Choose a color for your center, petals, and accent.
The center and petal beads should be small, but make sure they’re the same size.
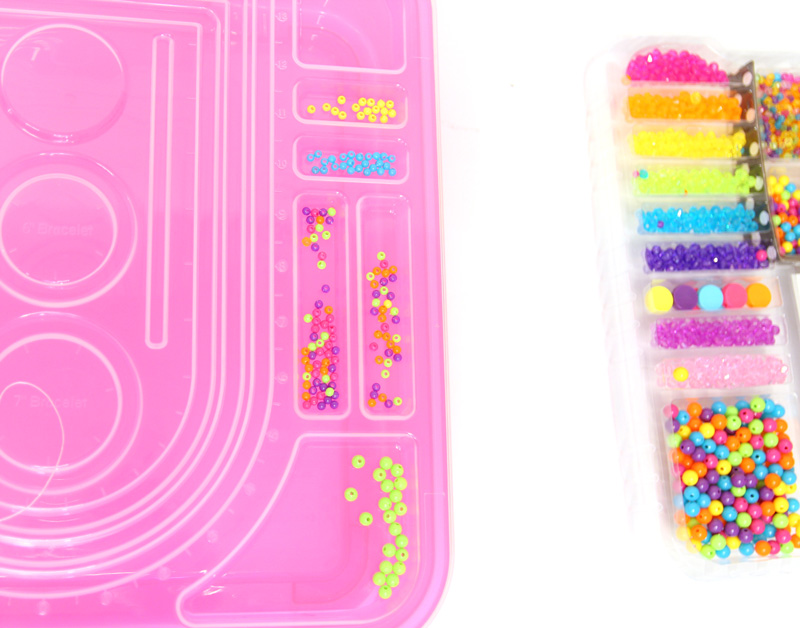
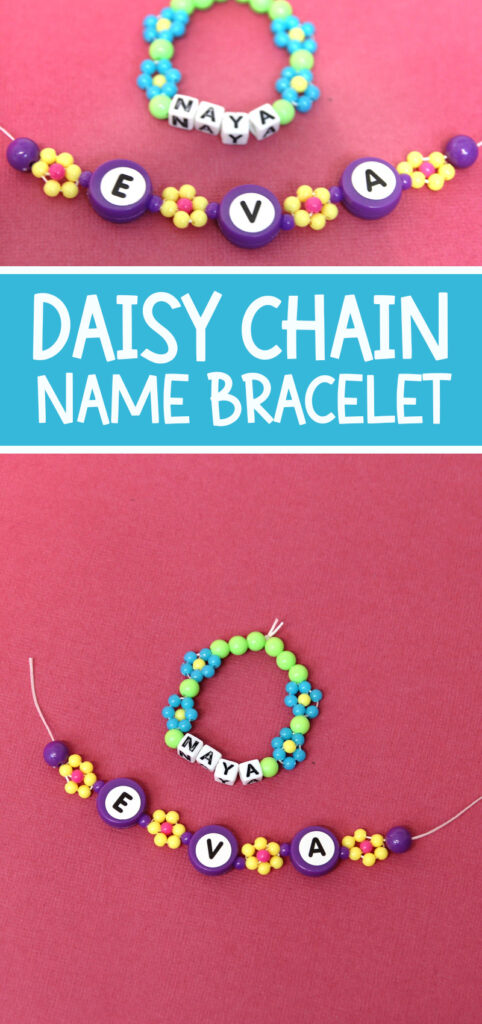
2: Plan beads for your name or initials too. For example, use sticker and the flat beads to spell out “Eva,” or use square alphabet beads to spell out “Naya.” Then, cut a piece of elastic about two feet long. Tape it down to your work surface.
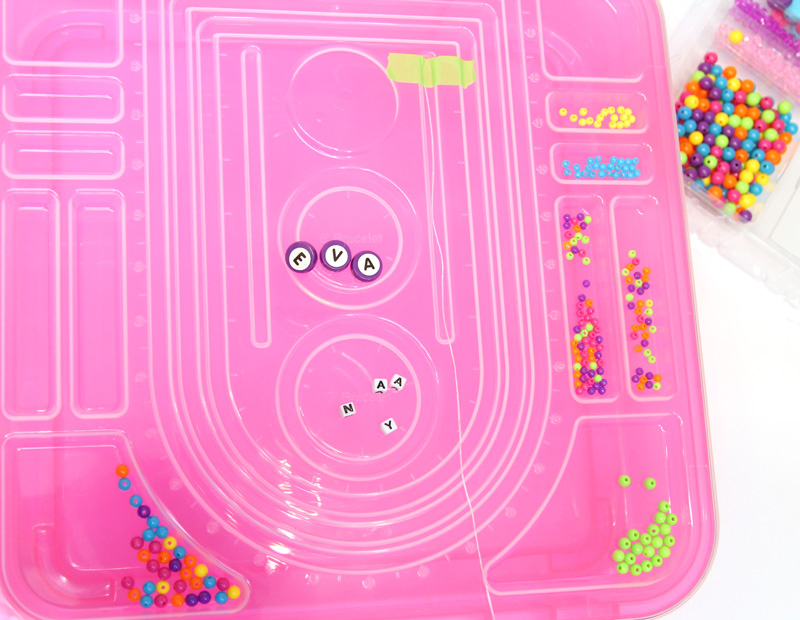
3: Thread a few of your accent color beads.
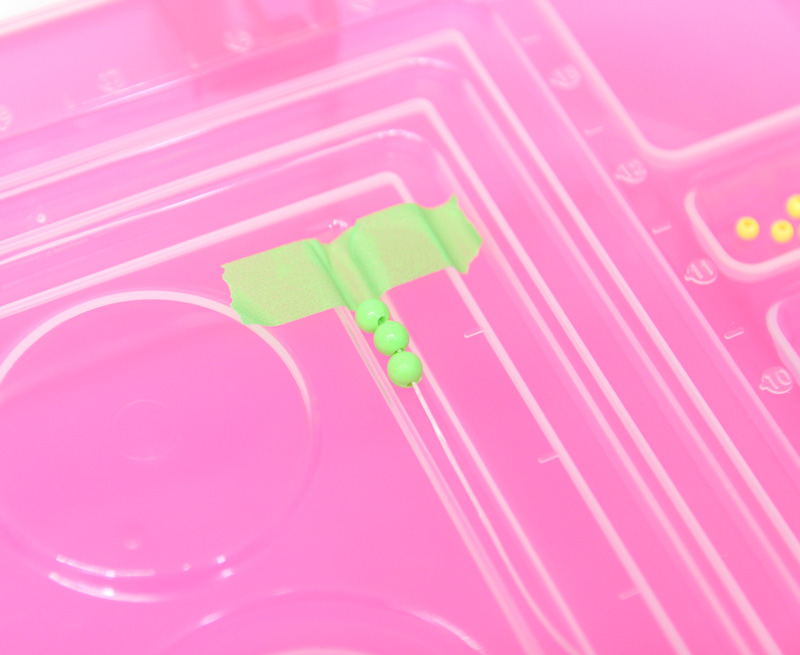
4: Continue the pattern by threading on 4 petal beads and then a center bead.
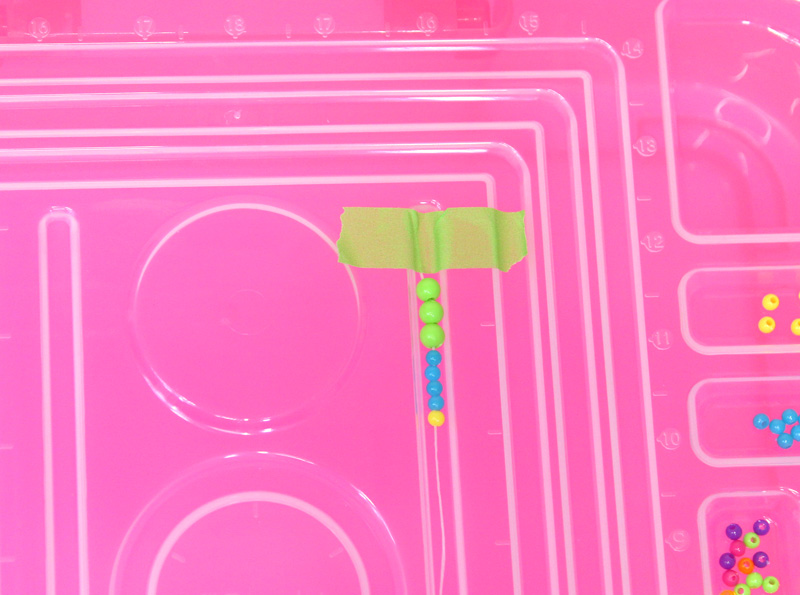
5: Take the end of your elastic. Thread it back through the first petal bead, from the direction that the elastic exited when you first added it, towards the accent beads.
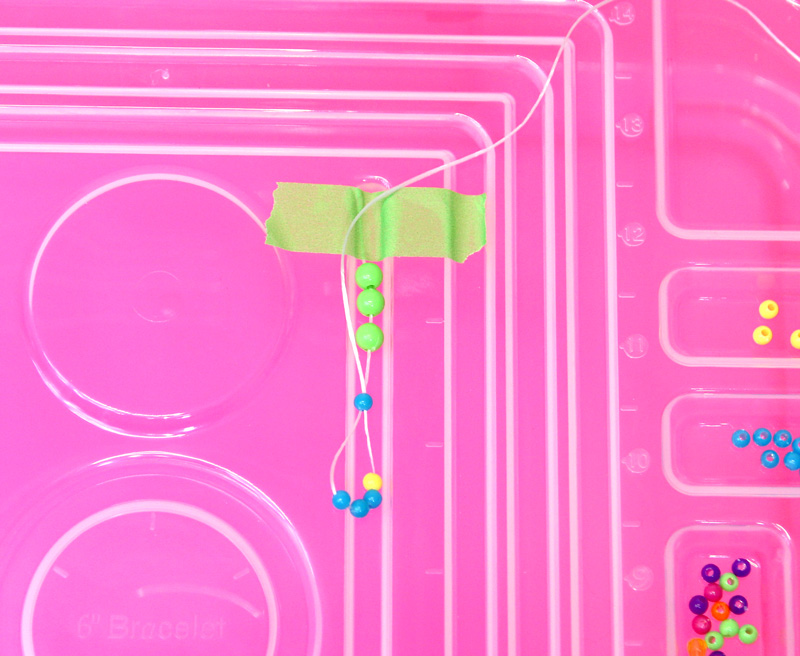
6: Pull the elastic tight so that the petal beads start forming a circle around the center bead.
Thread on another 2 petal beads.
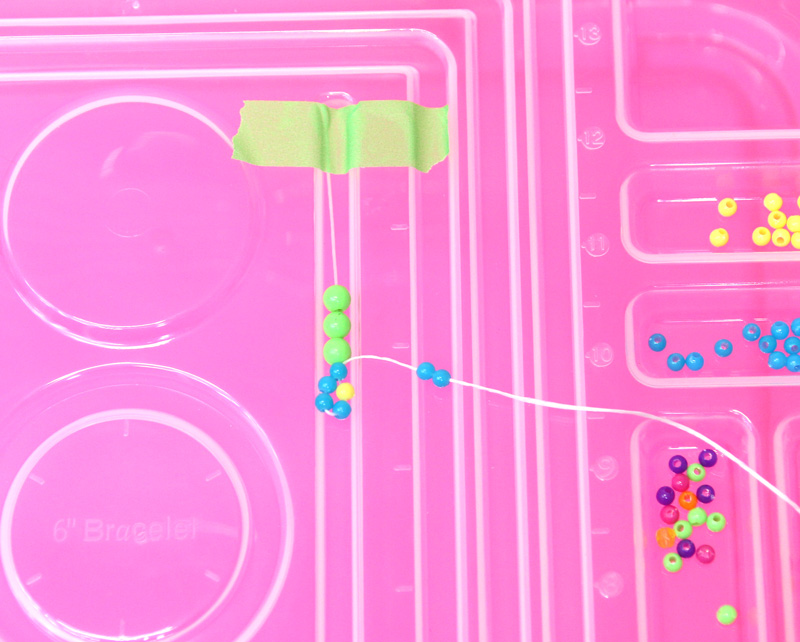
7: Thread your elastic back through the bottom petal bead.
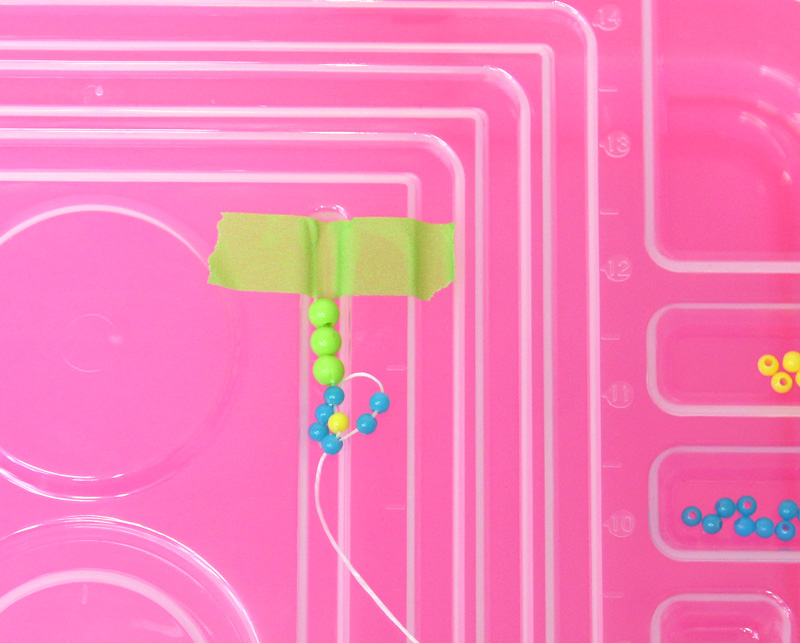
8: Pull the elastic until those last 2 petals sit around the center to form your first daisy!
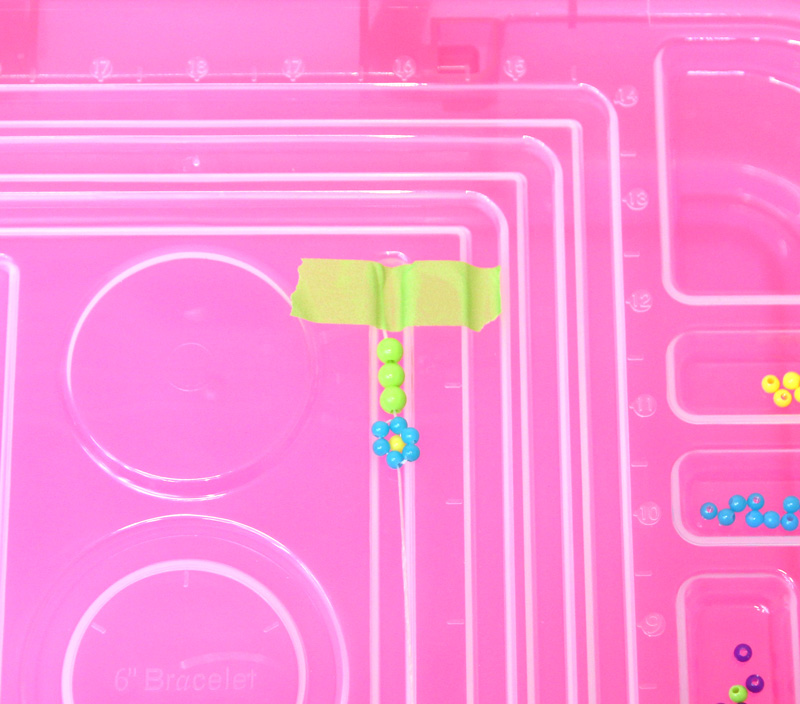
9: Add another accent bead. Repeat Steps 4-8 to add another daisy and then add another accent bead.
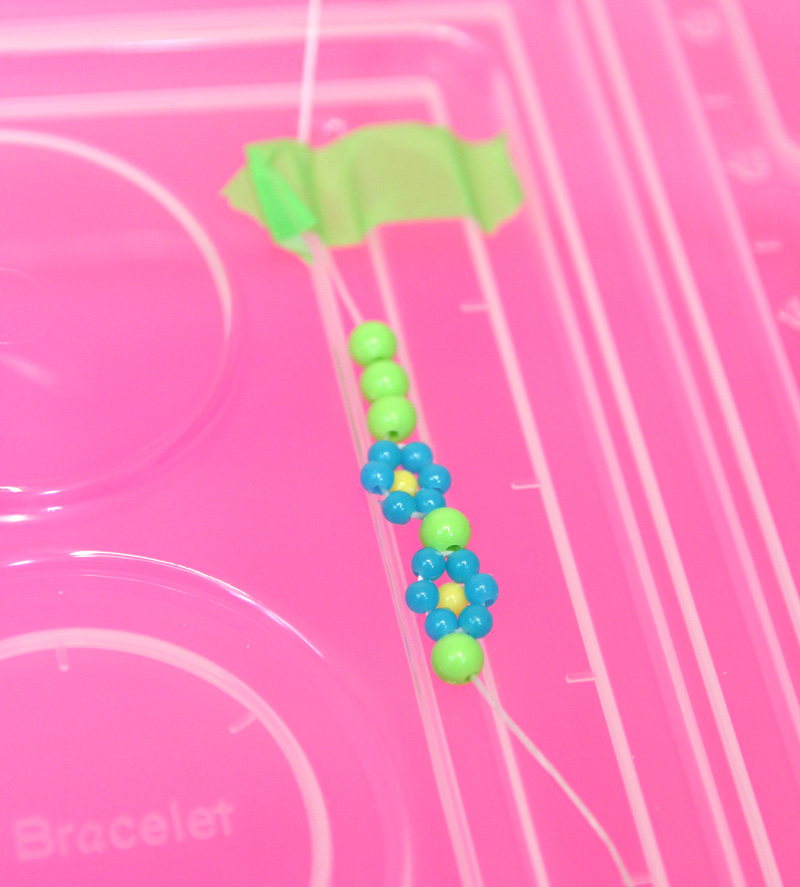
10: Thread on your name or initials.
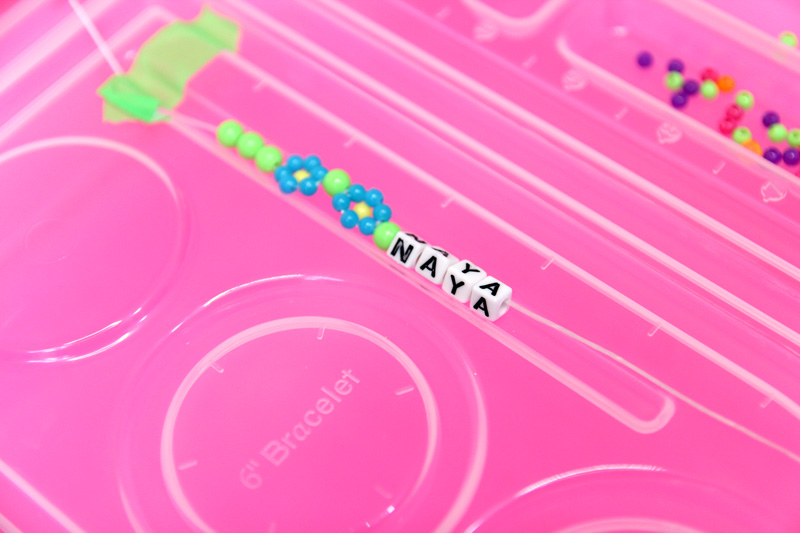
11: Finish off with an accent bead, a daisy, an accent bead, a daisy, and three accent beads.
If your bracelet isn’t big enough, just add more accent beads to the end. Or remove the end accent beads, slide your design over, and add more daisies!
Just make sure to place a piece of paper tape at the end of your elastic that you’re not working on so that the beads don’t fall off.
12: Knot your elastic tightly and trim it to complete your bracelet! Ask an adult to dab a bit of glue to the knot to make it more secure.
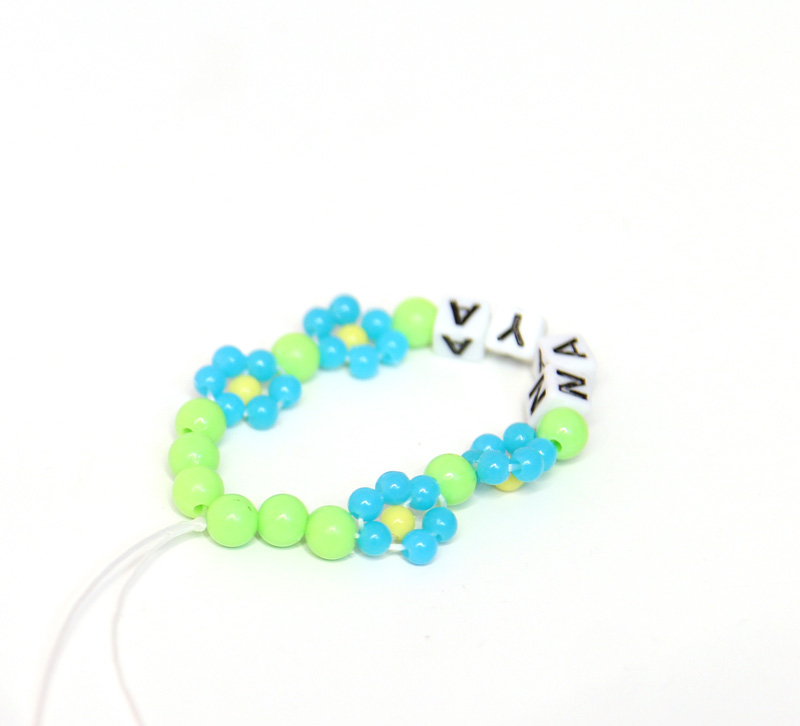
Tip: Vary your pattern! Place daisies between each letter bead if you’re larger beads or spelling out a longer name.
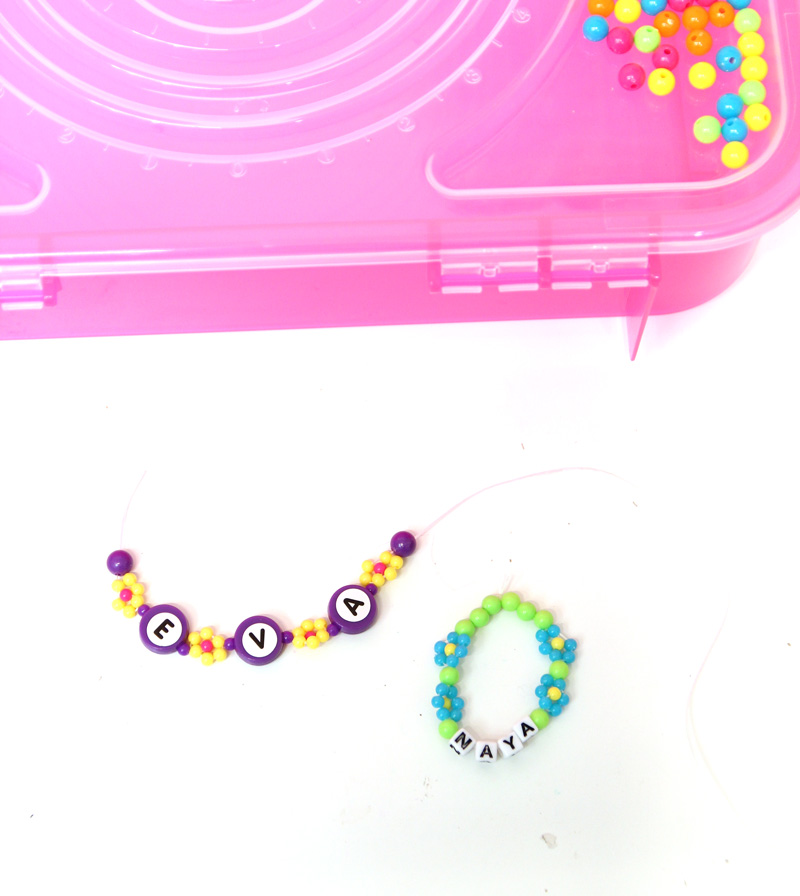
Your daisy chain beaded bracelets are complete! Who will you be making yours for? Comment below!


